The Best Way to Remove a Tick
Jul 29, 2025
How to Remove a Tick: A Proven Method That Works Better Than Others
Ticks are a common concern during tick season, and knowing how to remove them safely is crucial to reduce the risk of infection, including Lyme disease. For over 30 years, I have used a simple but highly effective method for tick removal that goes against the mainstream advice you’ll find on most official websites. In this article, I’ll share this alternative technique, explain why it works better, and clarify some misconceptions about tick bites and Lyme disease transmission.
Why Proper Tick Removal Matters
When a tick is embedded in your skin, the primary goal is to remove it completely without increasing the risk of infection. Many experts caution against certain removal methods out of fear of crushing the tick and releasing its stomach contents into the bite wound, which they believe could increase the chance of disease transmission.
However, the scientific evidence challenges this idea. Research, especially studies conducted in Europe, shows that the Lyme disease bacteria often reside in the tick’s salivary glands and can be transmitted within minutes of the tick bite—long before removal occurs. This means that the notion of “safe time limits” for tick removal to prevent Lyme disease is not supported by solid human research.
The Common Advice and Its Flaws
Most official advice recommends grasping the tick as close to the skin as possible and pulling it straight out without twisting. The reasoning behind this is to avoid crushing the tick’s body, which could cause it to disgorge infectious material into the bite site.
While this sounds logical, in practice, pulling straight out often requires significant force, and the tick may not release easily. This can lead to incomplete removal, leaving parts of the tick embedded in the skin. Incomplete removal can cause irritation, infection, and complicate further treatment.
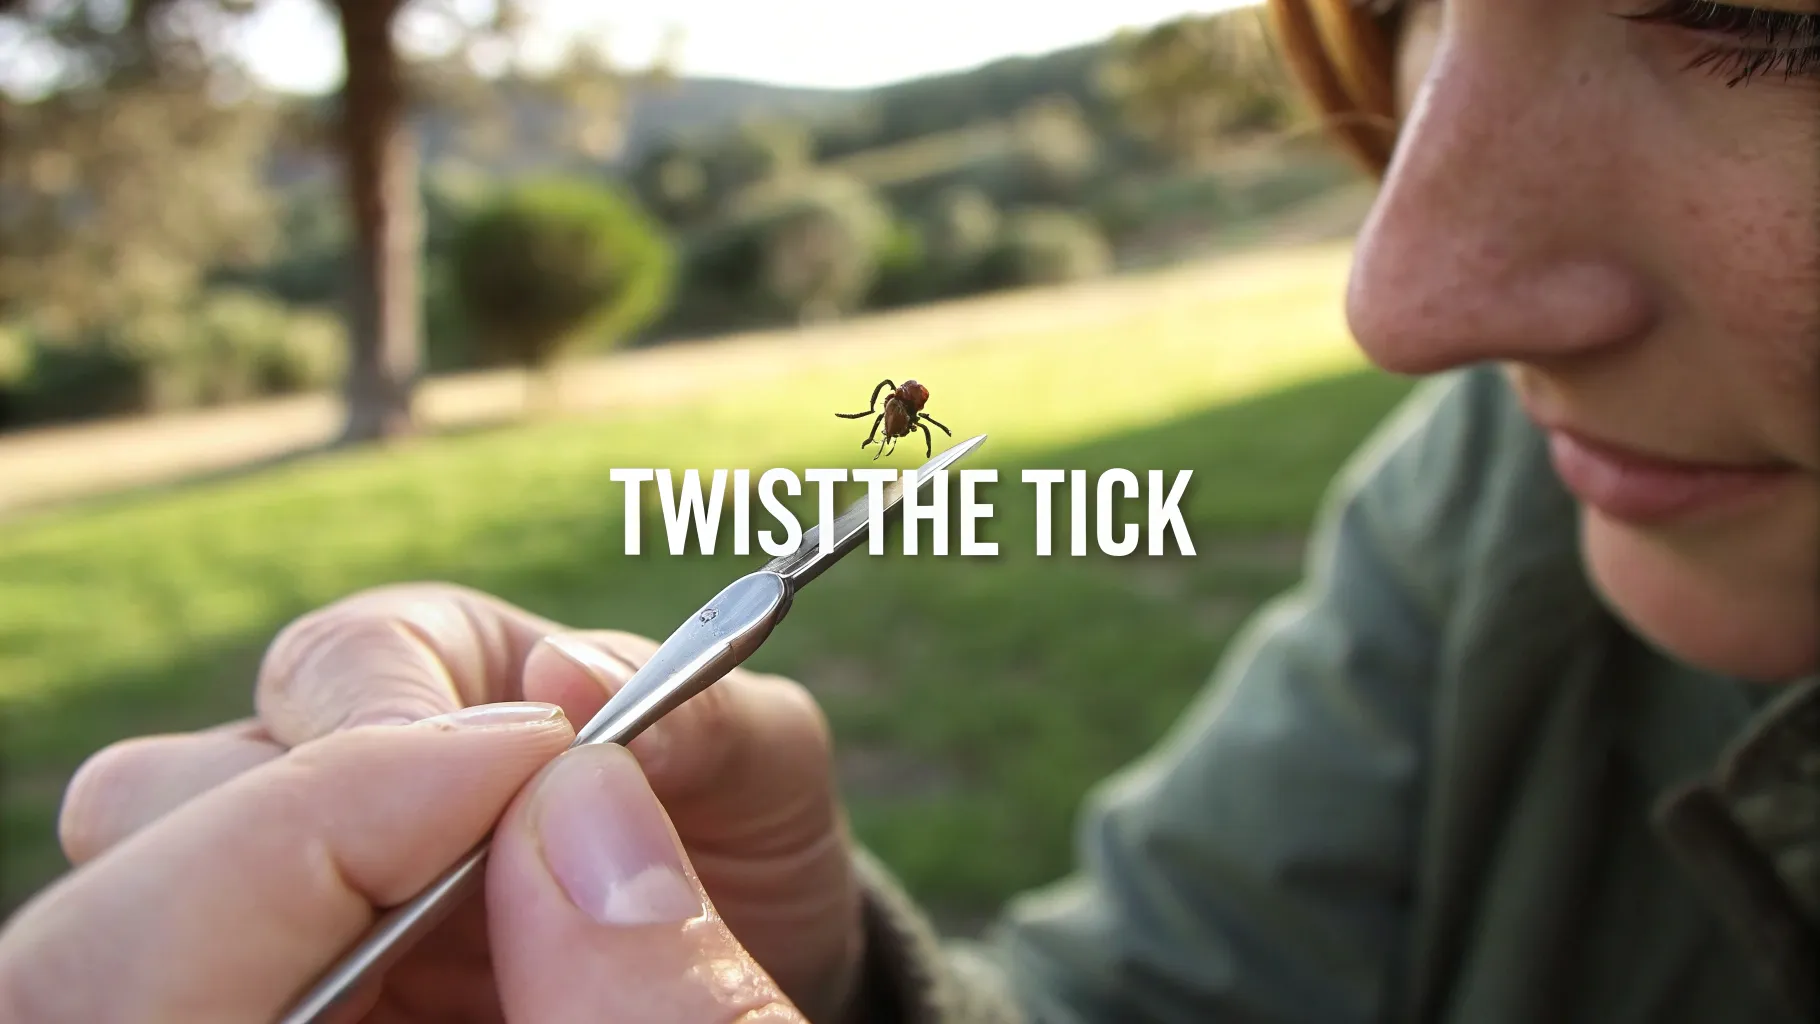
The Alternative Method: Grasp, Twist, and Remove
My preferred method uses a simple tool many people already have at home—a pair of fine forceps. The key is how you use them:
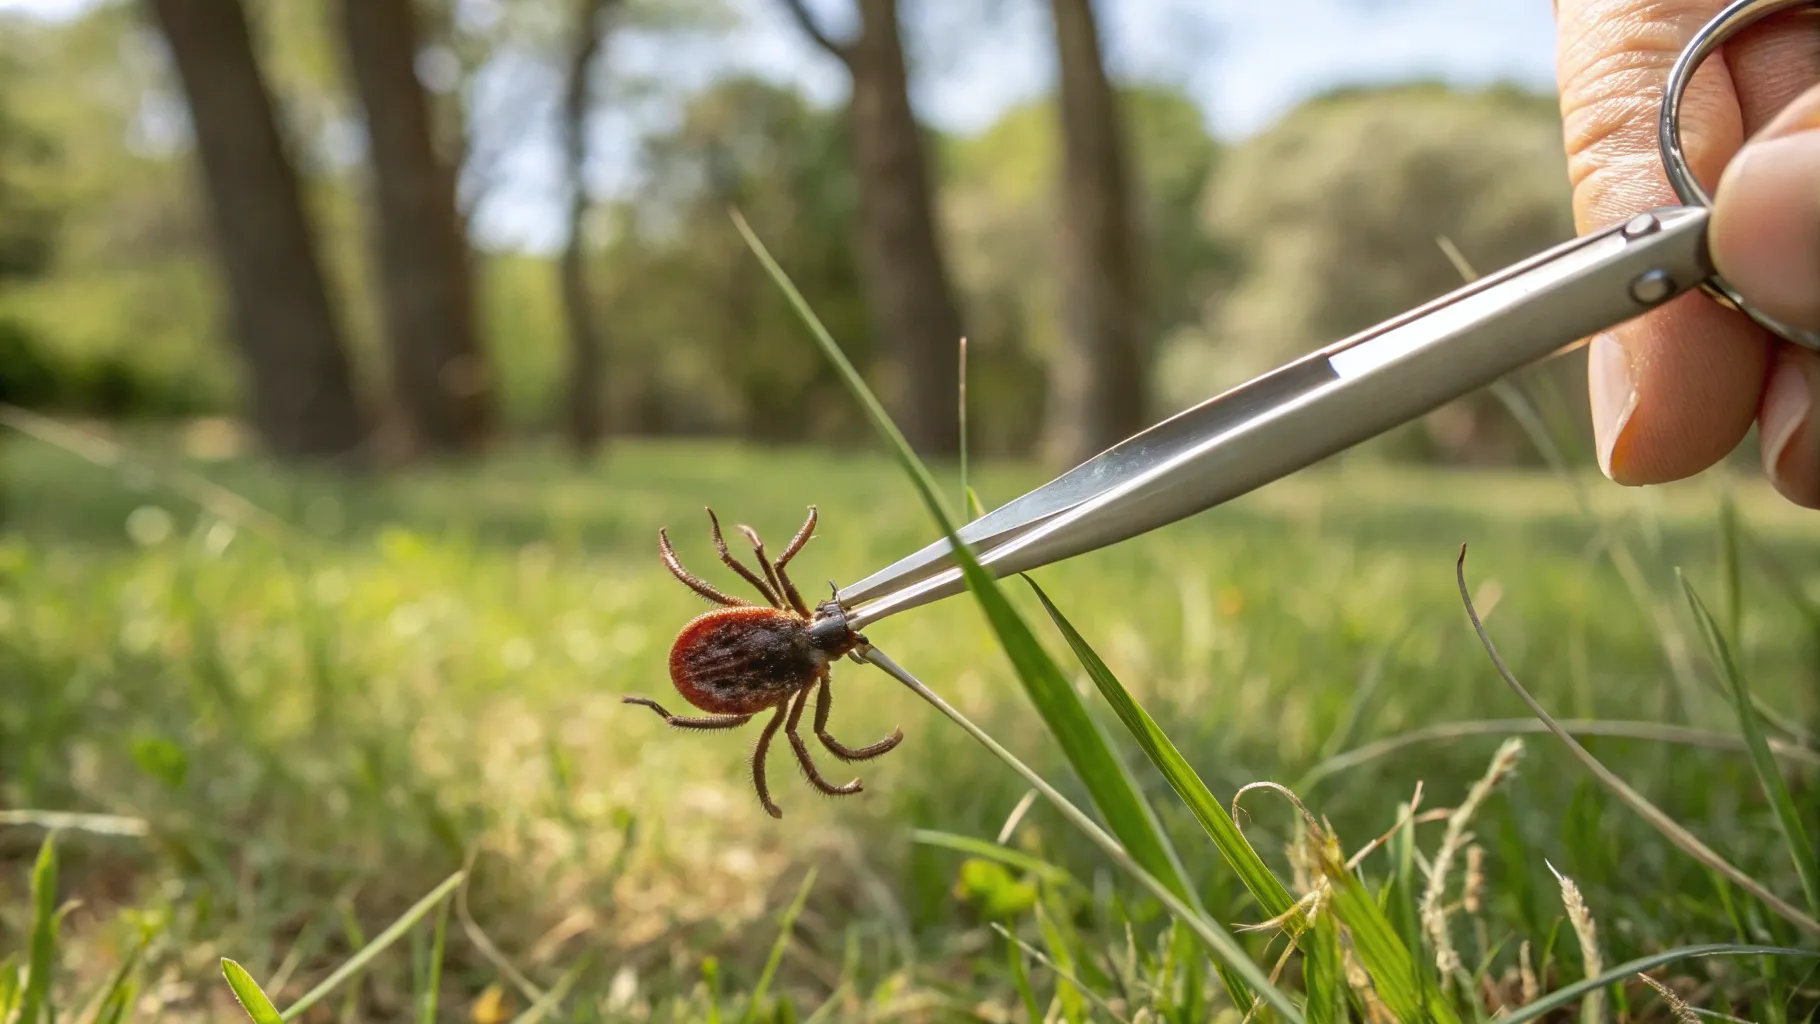
- Choose the right forceps: Use a small, delicate pair rather than large or wide ones to avoid crushing the tick.
- Grasp the tick’s body gently: Hold the tick firmly but carefully to avoid squeezing the stomach.
- Twist the tick: Instead of pulling straight out, rotate the tick gently about 180 degrees (sometimes a bit more). The tick dislikes this twisting motion and will gradually loosen its grip.
- Repeat if necessary: You may need to re-grasp and continue twisting until the tick releases.
- Remove and dispose: Once the tick lets go, pull it out completely and dispose of it safely so it can’t bite another person.
This twisting method is less likely to crush the tick compared to pulling hard, and it significantly reduces the effort needed to remove the tick intact. In my experience, ticks removed this way are often still alive and wriggling, which indicates they were not crushed during the process.
Why Twisting Works Better
The tick’s mouthparts anchor it firmly in the skin, and simply pulling can cause resistance and potential breakage. Twisting mimics the tick’s natural motion—it inserts and withdraws its mouthparts with a rotational movement. By gently turning, you encourage the tick to release its hold without forcing or crushing it.
Moreover, because the Lyme bacteria are already present in the tick’s saliva, the risk of increased transmission through twisting is minimal. The most critical factor is removing the entire tick promptly and carefully.
Understanding Lyme Disease Transmission
Many people believe that Lyme disease bacteria take at least 24 to 48 hours to transmit from the tick to the human host. This idea primarily comes from older animal studies that tracked visible infection signs rather than direct bacterial presence.
More recent and rigorous research using DNA analysis (PCR testing) has demonstrated that the Lyme organism can be transmitted within minutes to hours after a tick bite, especially from the tiny nymph stage ticks that often go unnoticed. This means that the timing of tick removal, while important, may not be as protective against Lyme disease as once thought.
What to Do After Removing a Tick
After successful removal, clean the bite area with soap and water or an antiseptic. Monitor the site for signs of infection or rash, and be aware of symptoms such as fever, fatigue, or joint pain that could indicate Lyme disease or other tick-borne illnesses.
If you develop symptoms, consult a healthcare provider promptly. For those seeking natural approaches to address Lyme disease, especially when prescription medications are not an option, there are alternative protocols available that focus on holistic health support.
Summary: Key Takeaways for Tick Removal
- Use small, delicate forceps to grasp the tick’s body gently.
- Twist the tick slowly about 180 degrees to encourage it to release.
- Avoid pulling straight out with force, which can crush the tick or leave parts behind.
- Dispose of the tick safely once removed.
- Understand that Lyme disease bacteria can be transmitted quickly, so prompt removal is crucial but not a guarantee of prevention.
- Clean the bite site and watch for symptoms after removal.
This method, refined over more than three decades, offers a practical and effective way to remove ticks while minimizing complications. While it challenges conventional advice, it is grounded in both clinical experience and scientific evidence.
Stay safe this tick season by being prepared with the right tools and knowledge to handle tick bites confidently.
Stanley Lang, M.D.
Click Here to Access Your First Trial of StemWave Pain management
Stay connected with news and updates!
Join our mailing list to receive the latest news and updates from our team.
Don't worry, your information will not be shared.
We hate SPAM. We will never sell your information, for any reason.
